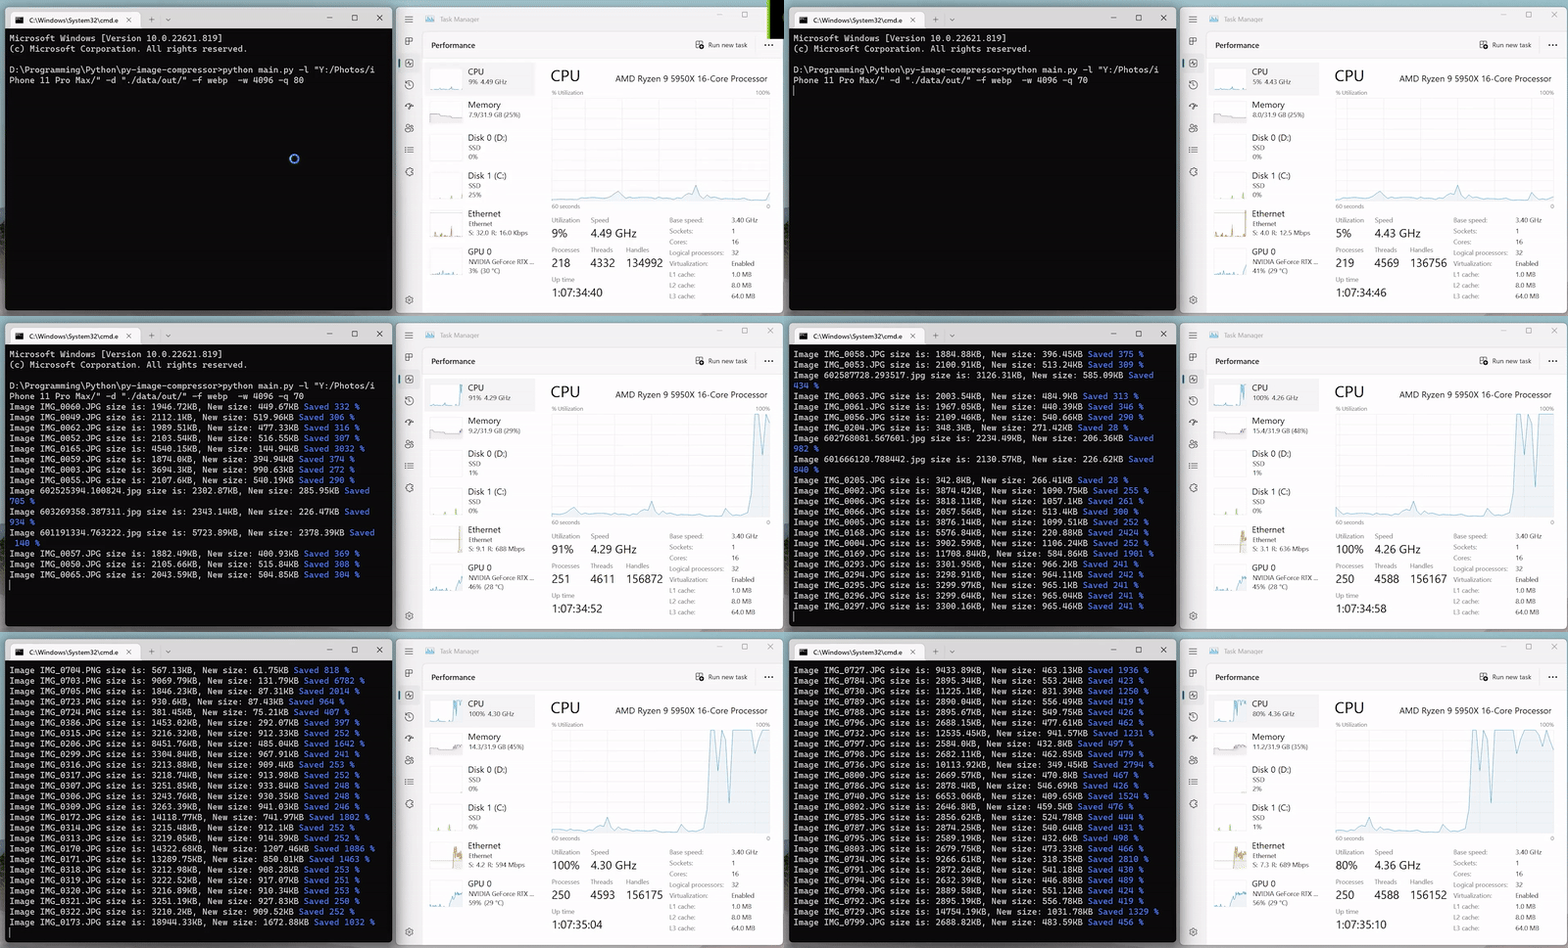
Introduction:
Image compression is a vital process for websites and applications, as it can significantly reduce the file size of images while maintaining acceptable quality. This reduction helps improve website load times, reduce bandwidth usage, and optimize storage space. One useful tool for compressing images is the Py-Image-Compressor, a command-line Python utility developed by George Khananaev. In this article, we will guide you through the process of installing and using the Py-Image-Compressor tool to compress your images efficiently.
Prerequisites
Before we start, ensure that you have the following software installed on your system:
Python 3.6 or higher: Download and install the appropriate version of Python for your operating system from the official Python website (https://www.python.org/downloads/).
Git (optional): If you would like to clone the repository from GitHub, install Git from the official Git website (https://git-scm.com/downloads).
Installation
To install the Py-Image-Compressor tool, follow these steps:
Open your terminal or command prompt.
Clone the Py-Image-Compressor repository using the following command:
git clone https://github.com/georgekhananaev/py-image-compressor.git
Alternatively, you can download the repository as a ZIP file from the GitHub page and extract it to a folder on your system.
- Navigate to the
py-image-compressordirectory:
cd py-image-compressor
- Install the required Python packages using the following command:
pip install -r requirements.txt
The Py-Image-Compressor tool is now ready to use.
Usage
To compress images with the Py-Image-Compressor tool, follow these steps:
-
Place the images you want to compress in the
inputfolder located inside thepy-image-compressordirectory. -
Run the following command to compress the images:
python main.py -l <Your Location> -d <Your Destination> -f <File Format> -w <Max Width> -q <Max Quality> -r <Remove Larger Files>
| Command | Weight | Default Values | Meaning | Details | Usage example |
|---|---|---|---|---|---|
| -l | required | N/A | location | your images path, where your original images located. | -l "C:/Original Images/" |
| -d | optional | /data/output/ | destination | your destination path, compressed images will be saved here | -d "C:/Compressed Images/" |
| -w | optional | 1920 | max width | if larger resolution will be set to max width without breaking the image ratio | -w 1920 |
| -q | optional | 80 | quality | images quality by percentage. lower quality to save more space | -q 80 |
| -f | optional | jpeg | format | supported format “.png”, “.jpeg”, “.jpg”, “.ppm”, “.gif”, “.tiff”, “.bmp”, “.webp”, “.heic”, “.heif” for more check PIL Documentation. | -f jpeg |
| -r | optional | no | remove | remove images from destination path, if compression is worst than original file. | -r y |
| -h | – | – | help | if you forgot what command you want to use can write python main.py –help | -h or -- |
Example:
python main.py -l "D:/React/resume-website/" -d "./data/out/" -f webp -w 500 -q 100

Found this article interesting? Check out my GitHub: https://github.com/georgekhananaev
-
George Khananaev
- April 12, 2023
- 12:33 pm
